This is a basic introduction (and also a self-note) into EFI shell and shell commands. EFI Shell is a very powerful shell that can be used to directly interact with the firmware, allowing low-level debugging and hardware troubleshooting, without having to deal with potential OS, kernel, driver or configuration problems.
I found a PDF by Intel about using EFI Shell to configure Intel servers, but regardless of your platform and hardware, it is a valuable resource to get started with EFI shell commands. For my experiments and interactions, I simply used a VM in Proxmox*.
*: In the screenshots of the Proxmox, the EFI shell seems to be included in the OVMF firmware, but I wasn’t able to find it. For this reason, I compiled the EFI shell from its source code (thanks to the tianocore EDK II project) and used the resulting EFI binary.
Getting Started: Storage Devices and Filesystems
Many of the shell commands are similar to both Unix and Windows-style terminals, while being much more closer to
the Windows. For example, you can use both ls and dir commands to list files in your current directory. In
contrast (as I am aware of), working directory selection and filesystem management works more like the Windows
terminals.
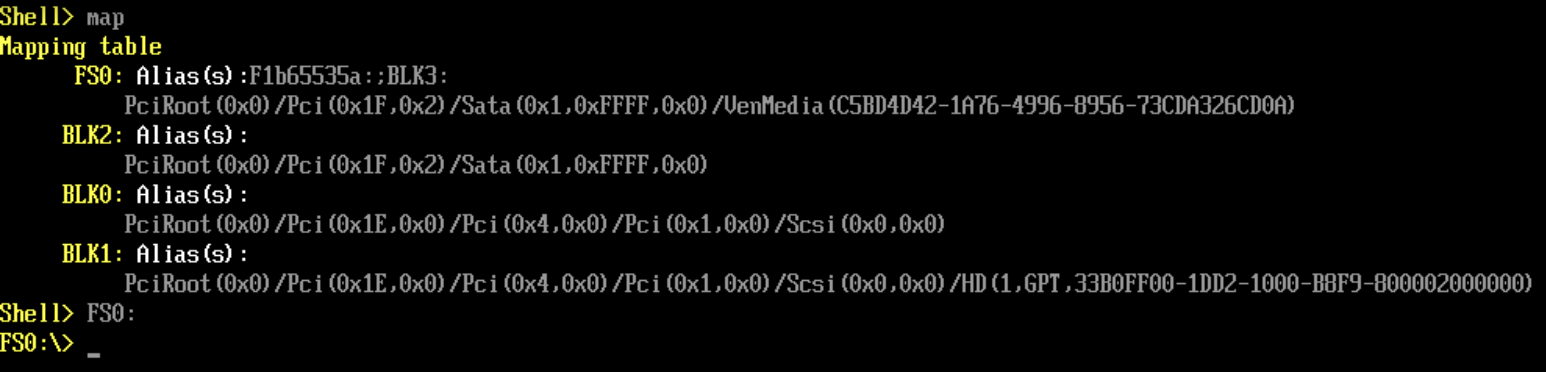
First of all, we should be comfortable with changing directories, listing files and executing binaries and scripts. To get started, the first command we need to use is map. Map command basically lists all the detected filesystems and their aliases, very similar to drive letters in Windows. Here is an example output:

Output of the map Command on EFI Shell
If we take a look at the Device Tree below, we can see that both entries are actually points out to the same physical device (SATA 0x1, 0xFFFF, 0x0)”, but the first one is (FS0) actually the filesystem, whereas BLK0 is the Block device. In my example, there is an ISO image mounted to the VM as a CD/DVD drive, and its content is just the Shell.efi file.
It is important to note that EFI only supports GUID Partition Table (GPT) and FAT (either FAT16 or FAT32) formatted devices for filesystem interactions. Also, as expected, it is impossible to write to a read-only storage like CD/DVD.
Is it possible to format a drive with FAT filesystem using EFI Shell?
Changing current working directory is as simple as writing the directory/drive you want to set and pressing enter. For example, to change the working directory to FS0, you just need to type “FS0:” (the column at the end is very important) and press enter. Now, instead of Shell> you should see FS0:> instead.
Changing working directory on EFI Shell
After changing the directory, now it is possible to use commands like ls (or dir) to list all the files in a directory, type for reading contents of files (similar to cat in Linux), and even hexedit to open a simple hex editor so you can view and edit binary content of files.
Using "help"
There is also another valuable in-shell resource to learn more about specific commands, called “help”. Executing
help command without any arguments prints a list of all possible commands, alongside with a short description of
each.
A problem you might encounter might be the fact of this list is long, being too long that it doesn't fit your screen. To be able to read the output in pages, you need to pass the -b argument. Unfortunately, there isn't any common utility like more or less to do that programmatically, though most of the other commands also support -b argument for pagination.
Using help, you can also get more information about specific commands. Just write the command's name after the help to view specific information about a particular command, like "help cls".
Executing EFI Binaries and .nsh Shell Scripts
It is possible to write custom scripts to run at the shell. You can do this by creating any custom script with
.nsh extension and later on calling it on shell for execution. A specific file that needs to be mentioned is the
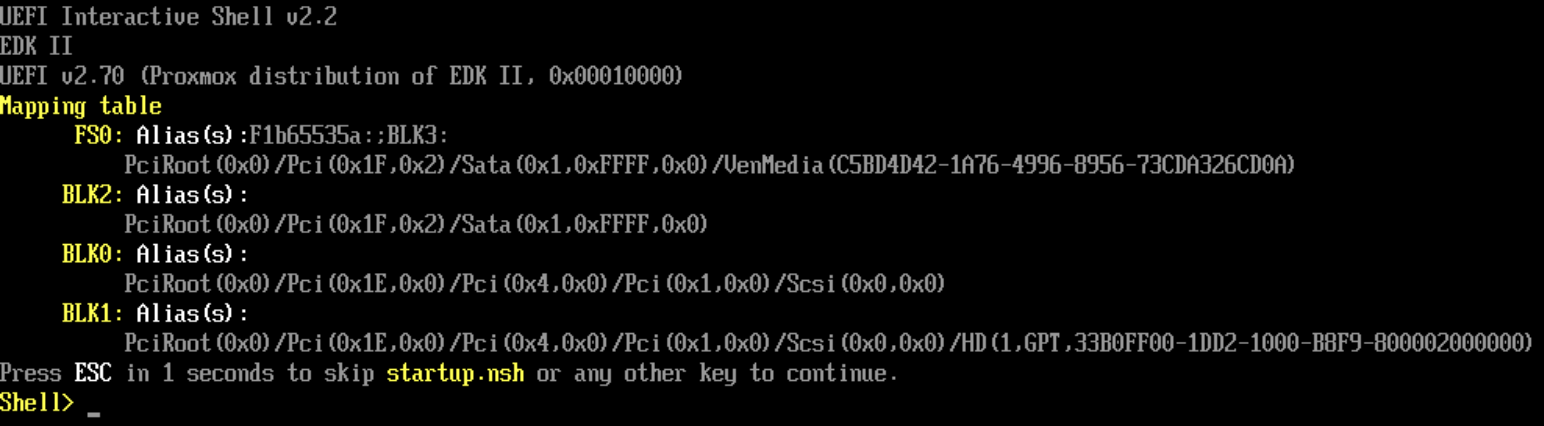
startup script. If you place any script called “startup.nsh” to the same folder as your EFI shell binary, unless
manually skipped by the user by pressing to ESC key, shell will try to execute this script automatically on
startup of the environment. This is the reason of the message shown when you first enter to the EFI shell.
Using the shell, you can also directly execute any EFI binaries in your filesystem. Just write the name of the file (or provide the absolute path like FS0:\Example.efi) and press enter, same as other terminals.
Information about the execution of startup.nsh script at the launch of the shell
Other Useful Commands
bcfg allows listing and even editing the boot options of your system. For example, it is able to list all
the boot options visible at the Boot Selection Menu of your firmware, and it is also possible to add custom boot
options using custom file paths other than the default /efi/boot/ one.
edit is a minimal ASCII text editor to view and edit the content of files.
map lists detected filesystems and block devices in the system. If you changed some configuration (like
plugging in a new drive or changing a virtual device) you can use "map -r" to reload the devices.
pci lists all the PCI connected devices in the system alongside with their addresses, making it useful for
hardware related information.
smbiosview command views and also partially decodes the raw SMBIOS information, which is very useful for
checking hardware and firmware configuration and for troubleshooting purposes.
vol allows viewing and modifying of a volume's label. It also displays some summarized information about
the volume, like total size, block size and free available space.
